Build a Custom Detail Page
This tutorial shows how to create a Detail Page from scratch in Skuid. In this example, we’ll be making an Account Detail page, but you can use any object, standard or custom. Once you understand how models, conditions, and components work, you can use Page Templates to build pages more quickly.
Goal: Create a custom detail/view page with inline editing

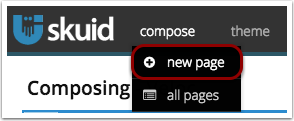
Step 1: Click Compose > New Page
B. Choose which tab to override
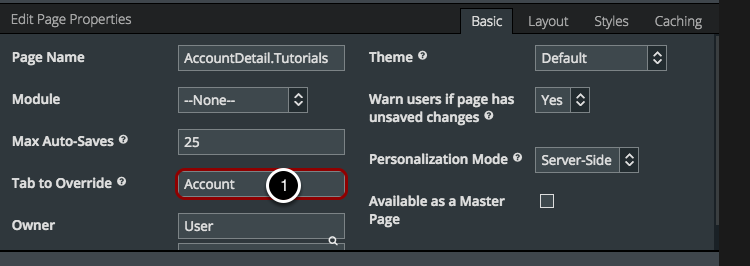
Choose the tab you want this page to override. Enter the name of the standard or custom object, e.g. Account, Project__c, etc.
Note
You’ll have a checkbox option for Scale for Mobile Devices. Check this if you want to visually scale the page’s content and components to display more effectively on mobile devices.
Step 2: Create a Model to select which data to use for this page.

Models allow you to pull data into your page from existing objects inside and outside of Salesforce.
- Click Models.
- Click Add Model.
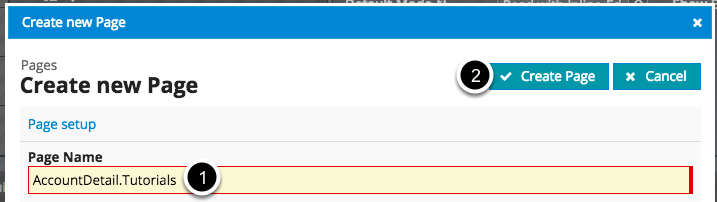
- Create a unique Model Id (this can only contain letters, numbers, and underscores, no spaces or special characters).
- For SObject Type (the Salesforce Object which will provide the data for this model), start typing the name of a standard or custom object, e.g. Account or Project__c.
- Choose the appropriate object from the list. In this example, we’ll choose “Account.”
For more information about models, visit this topic for an overview of Skuid models.
Step 3: Choose fields to include on this page
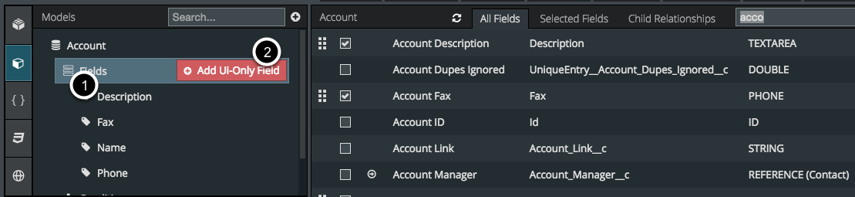
- Click on Fields under the model.
- Check which Account fields you want to use for this page. The less fields you select, the faster your page will be able to render itself. For the Detail Page, choose fields like Account Description, Account Name, Account Phone and any other information you wish to display in an account’s detail page.
Step 4: Create a Condition so that only a single Account record will be displayed
Because we want this page to be used as an override for the standard Account Detail (View) page, we need to tell our page to only show data from the Account that a user requests to see. By convention, this data will be handed to us in a URL Parameter called “id”, for instance, our browser URL might end with something like “/apex/UI?page=Account&id=0010000000fr243.” In this case, we’re being handed a parameter called id whose value is 0010000000fr243. So we need to create a Condition that takes value and does something with it.
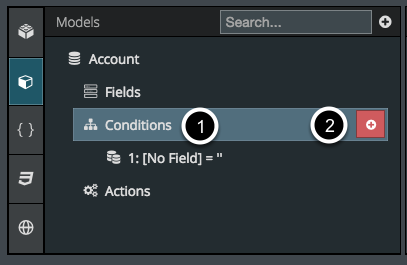
- Click on Conditions
- Click to Add.
Edit Condition Information

- Choose Account Id as the field.
- Click “Value” and choose URL Parameter as the Value Type.
- Under Parameter, type Id.
What we’re doing here is saying “get the value of URL Parameter called ‘Id’, and find the Account whose Id field equals that parameter’s value.” By doing this, our Account page will only display information from a single Account.
Step 5: Click on Components
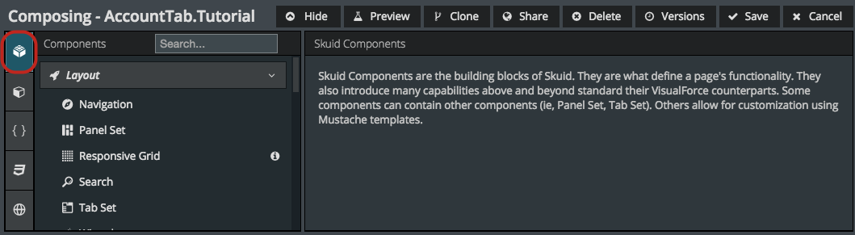
Components are the building blocks of your page. They are what give your pages their functionality. For more detailed information, see the Component introduction.
Drag and drop the Page Title Component into the Page Composer

The orange strip lets you know where you can add components. You also add components to your page just by double-clicking on the component name.
Step 6: Double click to add the Field Editor Component below the Page Title
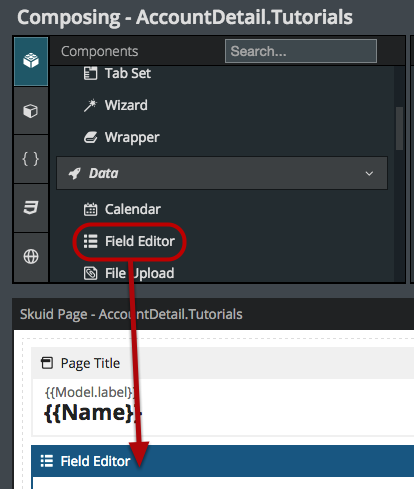
The slightly orange strip lets you know where you can add components.
The Field Editor allows you to view and edit fields on a page. For more information, see the Field Editor topic.
A. Edit your Field Editor Properties
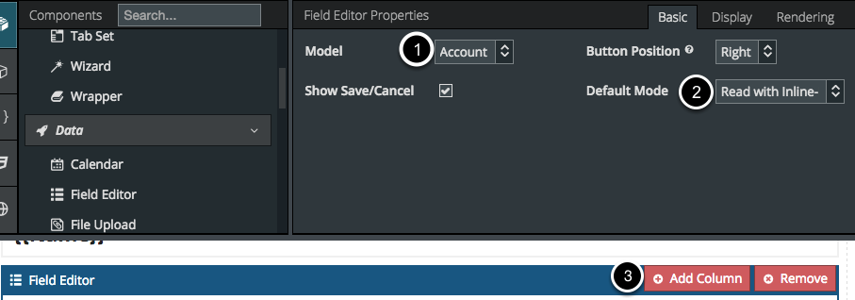
- Make sure Accounts is selected as the Model. (When you have multiple models, it will be very important to make sure you connect your components to the appropriate model.)
- Select Read with Inline-Edit mode. When you choose Read with Inline-Edit mode, it means the information in your field will be in Read-Only mode only until you click to edit it; you will still be able to edit the information. If you choose Edit Mode, it locks all the the fields in Edit Mode permanently (which is useful if you want to create an Edit page).
- Click to Add a Column to your field editor.
With Skuid tables and field editors, you can display as many columns on a page as you want.
B. Edit section names
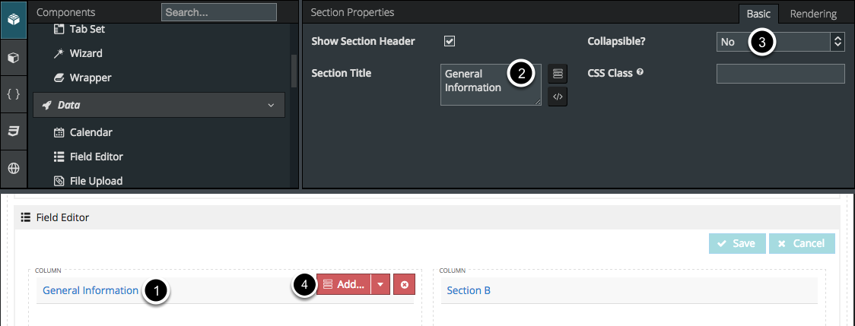
- Click on a Section.
- Type in the new Section Title under Section Properties.
- You can choose to make your Field Editor sections collapsible if you want.
- Or, you can click to Remove Section.
C. Click on the top of a section to edit other Column properties
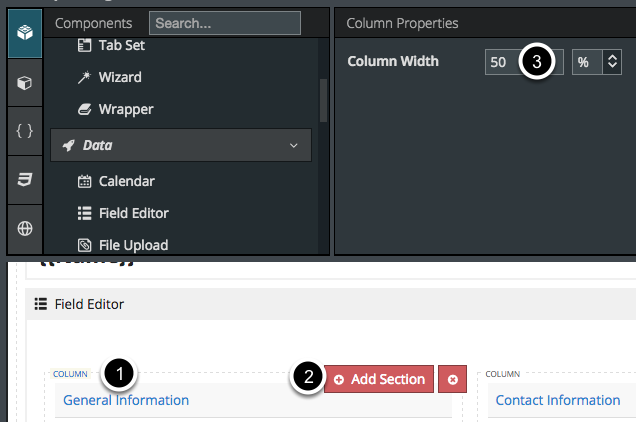
- Click on the dotted line labeled Column.
- Buttons will appear to Add a Section to this Column or remove this column.
- You can also set the Column Width under Column Properties.
Step 7: Add Fields into the Field Editor

- Click on the Section name.
- Click Add Field.
- Click Model Field(s).
Choose which fields you want to add

- Select the fields you want to display in each section of the Field Editor. Fields will be added in the order they’re checked.
- Click All Fields to include more fields from this object that you hadn’t previously included in the model.
- Click Apply.
Step 8: Click Save, then click Preview to open your new page in a new tab

Choose the Account whose Detail Page you want to preview

- Enter all or part of the name of the Account.
- Select the desired Account from the list. This Account’s Id field will be used to populate the Id URL Parameter when previewing our Account page.
- Click Go.
Result: The new Account Detail Page will be displayed.
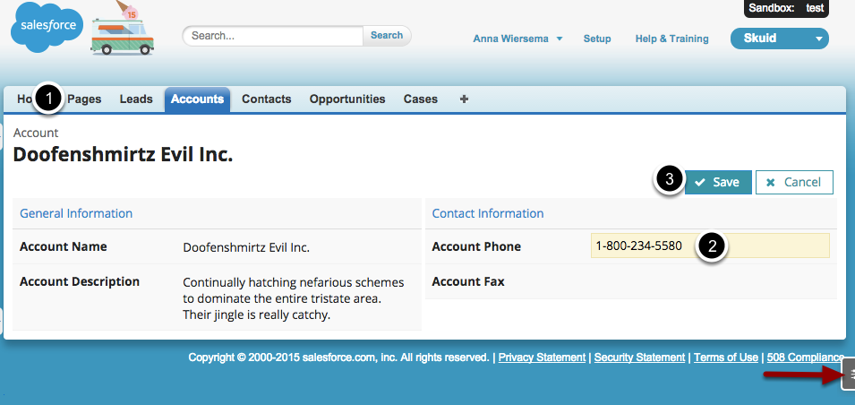
- This page will now be displayed in the Pages tab.
- Double click on a field to edit it.
- Click to Save or Cancel your changes.
Once you’ve deployed this page, you can always click on the adjust icon at the far right to open the page editor in a new tab and keep editing it.